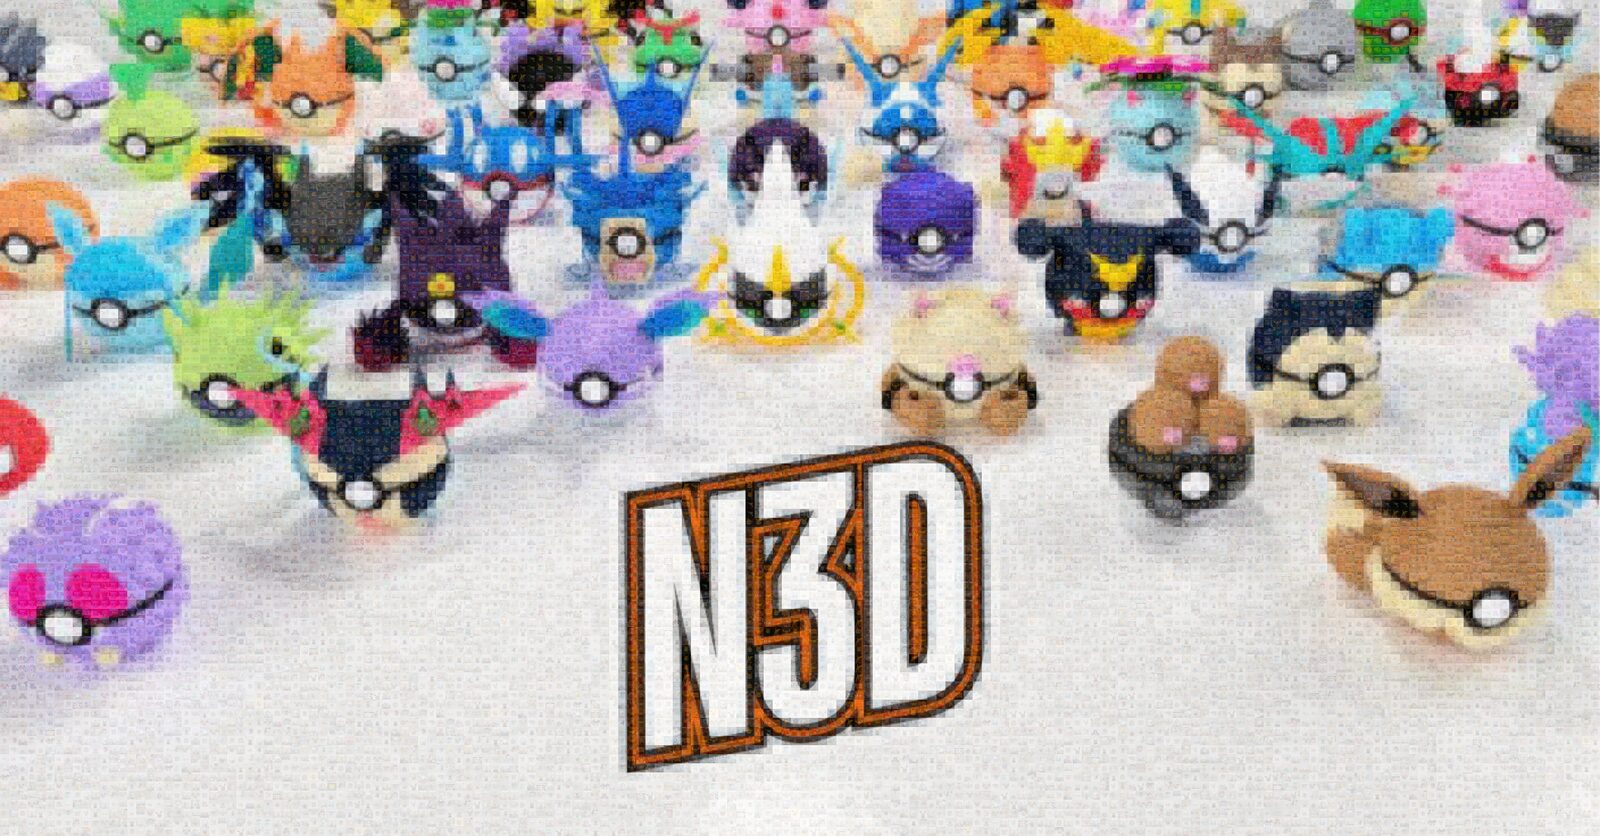
The Wall of Balls is a picture made from photos sent in by the N3D Melbourne community, people who 3D-print character balls. From a distance, you see our familiar group shot. Zoom in and each little square becomes someone’s photo of a print they made, with their name on it.
A few days after launch, about 90 people had contributed 531 photos. The wall has 16,192 squares, so those photos appear more than once.
Someone in our Discord asked how it works, and how the page stays smooth with so many pictures on screen. There are two parts to that: choosing where each photo goes, and drawing the finished wall efficiently. The code examples below are optional if you want a closer look.
Make a guide from the big picture
A photomosaic is a picture made out of smaller pictures. From a distance, the details blend together and you mostly see the color of each little square. Arrange light and dark photos in the right places and a bigger picture starts to appear.
I started by shrinking the original group shot to a grid of 176 by 92 squares. Each square, or cell, has a color that the finished wall needs to match. Think of it as a paint-by-numbers guide, with a photo going into each space instead of paint.
See the code: Make the color guide
const COLS = 176const img = sharp(src).modulate({ saturation: 1.3 }).linear(1.18, -22) // a little contrast so the mosaic readsconst ROWS = Math.round(COLS * height / width) // 92const raw = await img.resize(COLS, ROWS, { fit: 'fill' }).raw().toBuffer()const cells = []for (let i = 0; i < COLS * ROWS; i++) cells.push(hex(raw[i * 3], raw[i * 3 + 1], raw[i * 3 + 2]))writeFileSync('src/data/wall-target.json', JSON.stringify({ cols: COLS, rows: ROWS, cells }))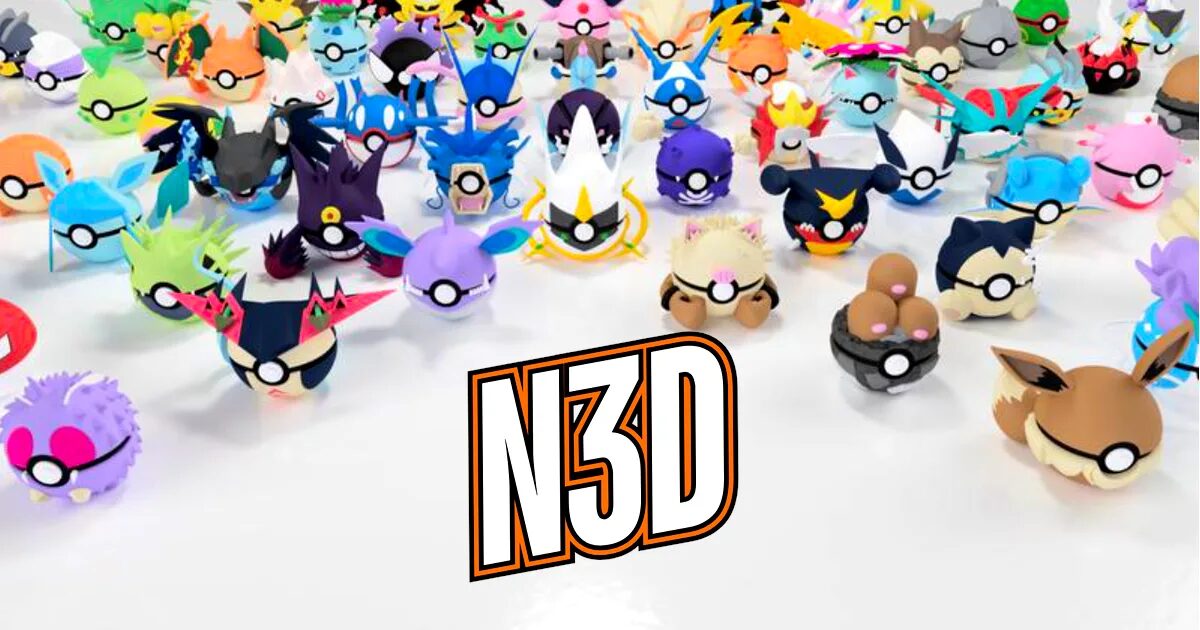
See the code: Read the saved colors
{ "cols": 176, "rows": 92, "cells": ["#dcdcdc", "#dcdcdc", "#dbdbdb", "#68d597", "#25d270", ... 16,187 more, one per cell, left to right then top to bottom]}Every photo becomes one color too
When someone uploads a photo of their print, it is cropped square and saved in three sizes: a small thumbnail, a medium version and a larger version for detail. The files use WebP, an image format that keeps downloads small. We also measure the average color at the center of the photo. That gives us a color to compare with the squares in our guide.
See the code: Prepare an uploaded photo
const master = sharp(upload).rotate().resize({ width: 1200, height: 1200, fit: 'cover' })for (const width of [96, 320, 1200]) { const out = await master.clone().resize(width).webp({ quality: 80 }).toBuffer() if (width === 96) { // one color per photo: the mean of a 56px square from the middle of the small tile const { channels } = await sharp(out).extract({ left: 20, top: 20, width: 56, height: 56 }).stats() avgHex = '#' + channels.slice(0, 3).map((c) => Math.round(c.mean).toString(16).padStart(2, '0')).join('') }}The photos stay in private storage while they are reviewed. Subydoo, our support bot, checks them first for anything unsuitable for a family page. A person then makes the final decision. Only approved photos appear on the wall.
See the code: Approve or reject a photo
// POST { action: "approve" | "reject" | "remove" }if (action === 'approve') await publishWallTile(snap.storage_key) // holding bucket -> public bucketif (action === 'reject') await removeWallTile(snap.storage_key, WALL_SNAP_PENDING_BUCKET)if (action === 'remove') await removeWallTile(snap.storage_key, WALL_SNAP_BUCKET) // pull an approved oneawait admin.from('wall_snap').update({ status, reviewed_by: mod.id, reviewed_at: new Date().toISOString() }).eq('id', id)Find a place for each photo
Now we have a color for every square in the grid and a color for every approved photo. Choosing which photo goes where happens in two passes.
Pass one: everybody gets on the wall
First, each approved photo gets a turn. It takes the empty square with the closest color match. With more squares than photos, this gives every photo a place before any are repeated, even if its colors are unusual.
Pass two: fill the gaps
Most of the grid is still empty after that. To fill it, we reuse photos with colors close to each remaining square. Photos that have already appeared often get a small penalty, so one good match does not take over the whole picture. We visit the squares in a shuffled order to help spread the repeats around.
See the code: Place the photos
// pass 1: every snap lands once, at its closest free cellfor (const snap of shuffled(snaps)) { const cell = closestFreeCell(snap.lab) cells[cell] = snap}// pass 2: nearest snap for every empty cell, repeats gently penalizedfor (const cell of shuffled(emptyCells)) { cells[cell] = argmin(snaps, (s) => okLabDistance(s.lab, cell.lab) + 0.004 * uses[s])}For color matching, I use a method called OKLab. It compares colors in a way that is closer to how our eyes see differences. That helps the wall choose a photo that looks right, rather than one whose color numbers happen to be close.
See the code: Compare two colors
export function okLabDistance(a: OkLab, b: OkLab): number { const dL = a.L - b.L const da = a.a - b.a const db = a.b - b.b return Math.sqrt(dL * dL + da * da + db * db)}The shuffle is repeatable: the same collection of photos produces the same layout. Adding or removing photos can change their positions. The server does the matching in well under a second and saves the result for five minutes. Your browser receives the finished arrangement and draws it.
Help the colors match
A photo might be a good match for one square and a poor match for another. Without help, all those repeats make the big picture look muddy. I add a transparent wash of the intended color to each square, with a stronger wash in bright areas so the white floor still looks white. The original group shot also sits over the whole wall at 40 percent opacity. Both layers fade away as you zoom in, revealing the members’ photos in their real colors.
See the code: Choose the tint strength
// how much of the target color to paint over a tile: 50% on black, up to 80% on whiteexport function tintFor(hex: string): number { return Math.min(0.92, 0.5 + 0.3 * relativeLuminance(hex))}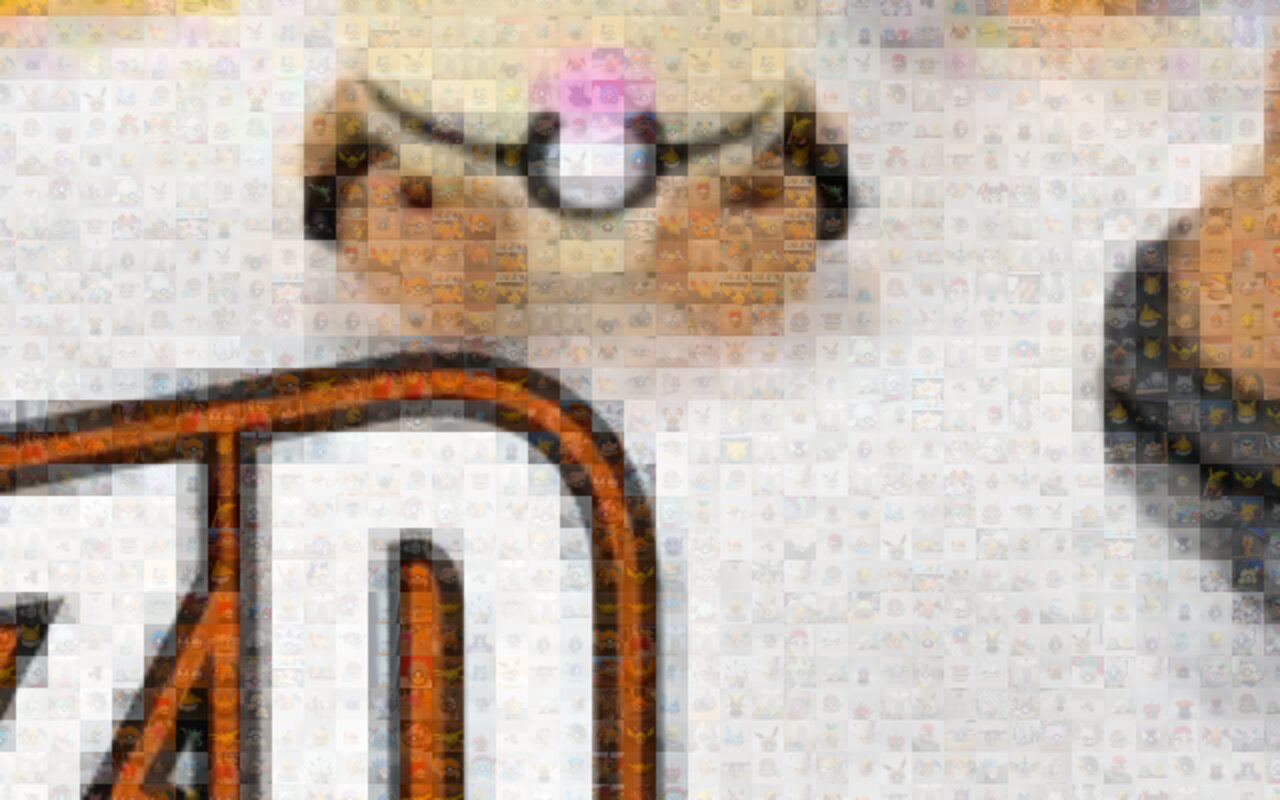
A larger, more varied collection gives the wall more colors to choose from and can improve the matches. But the colors matter as much as the number of photos. Filling every square with a different photo would not, by itself, mean we could remove the tint.
Keeping it fast
When you are zoomed out, the browser does not need to redraw thousands of separate photos every time you move. It first combines the small tiles into one image held in memory, called an offscreen canvas. It can then move and scale that image as a whole. Once it is prepared, drawing the zoomed-out view takes roughly the same work whether the wall uses 500 photos or 5,000. Downloading and preparing more photos can still take longer.
See the code: Draw the zoomed-out wall
// paint one cell of the offscreen base canvas: tile, then its washconst x = (i % cols) * BASE_CELLconst y = Math.floor(i / cols) * BASE_CELLif (img) { ctx.drawImage(img, x, y, BASE_CELL, BASE_CELL) ctx.fillStyle = hexToRgba(target[i], tint[i])} else { ctx.fillStyle = hexToRgba(target[i], GHOST_ALPHA) // empty cell: a faint ghost of the target}ctx.fillRect(x, y, BASE_CELL, BASE_CELL)// every frame after that, zoomed out: one blit of the whole base canvasif (cellSize < BASE_CELL) ctx.drawImage(base, 0, 0, baseW, baseH, v.ox, v.oy, baseW * v.scale, baseH * v.scale)Zoom in far enough and the small tiles start to look blurry. The page then loads sharper versions of the photos you can actually see and draws them on top. A link to an individual photo remembers its ID, so opening that link brings you straight to a highlighted tile.
The browser can keep a local copy of each photo for repeat visits, instead of downloading it again. Each small tile is around 3 to 4 KB. A repeated photo only needs to be downloaded once, even if it fills many squares.
See the code: Save photos for repeat visits
await admin.storage.from(bucket).upload(`${storageKey}-${width}.webp`, out, { contentType: 'image/webp', cacheControl: '31536000, immutable', // one year, never revalidate upsert: false,})See the code: Create a still image
$ npx tsx archive/scripts/wall-snapshot.ts --cell=16531 approved snaps, grid 176x92531 unique tiles fetchedwrote public/email/refer/wall-now.jpg (2816x1472)I also use the same layout and drawing code to make still images for emails, including the image near the top of this article. With 531 photos, that took about ten seconds, mostly spent downloading the tiles.
A picture we are making together
When all 151 of the original designs have a photo on the wall, we will print it at poster size. Every contributor will get a share card with their tiles marked. I like that the familiar group shot is becoming a record of what people have actually made, one photo at a time.